Heads up — affiliate links below. This post contains Amazon affiliate links. If you click through and make a purchase, I earn a small commission at no extra cost to you whatsoever. It’s a tiny way to help me keep posting content like this, and I genuinely appreciate every click. Thank you!
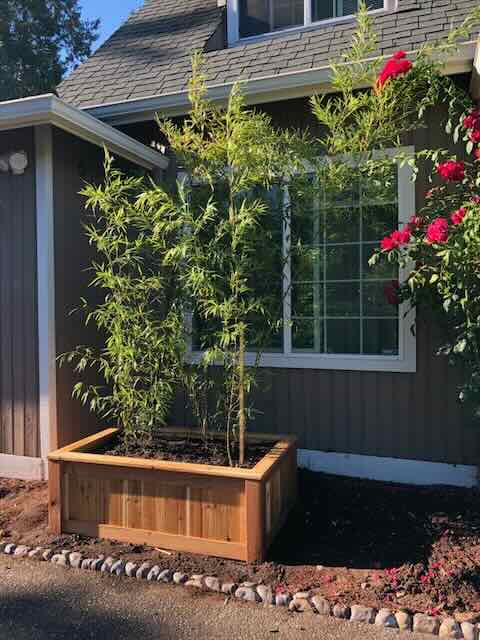
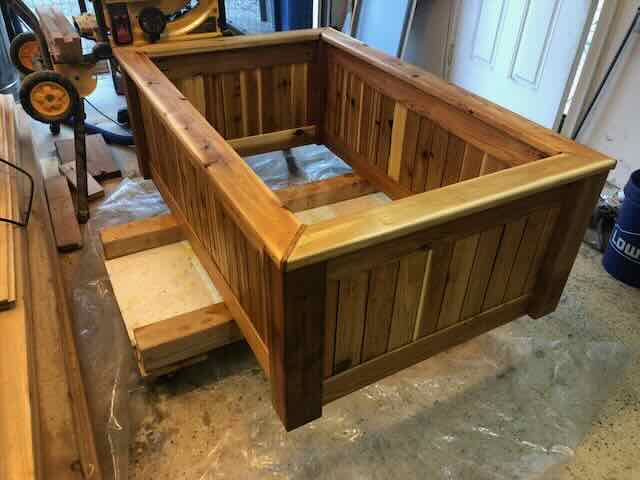
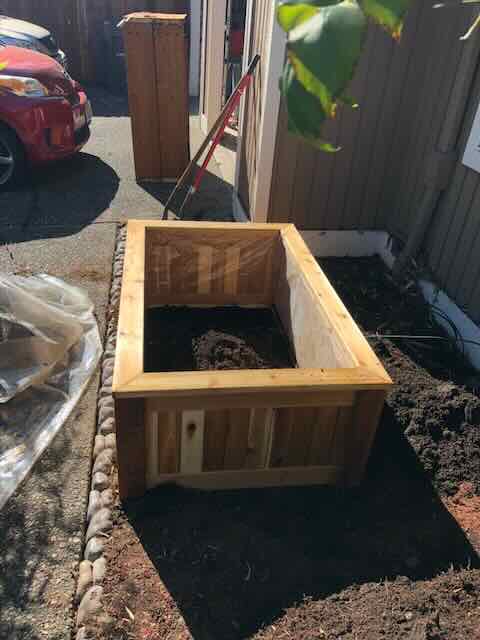
A custom raised planter built from cedar decking — better quality and half the price of store-bought.

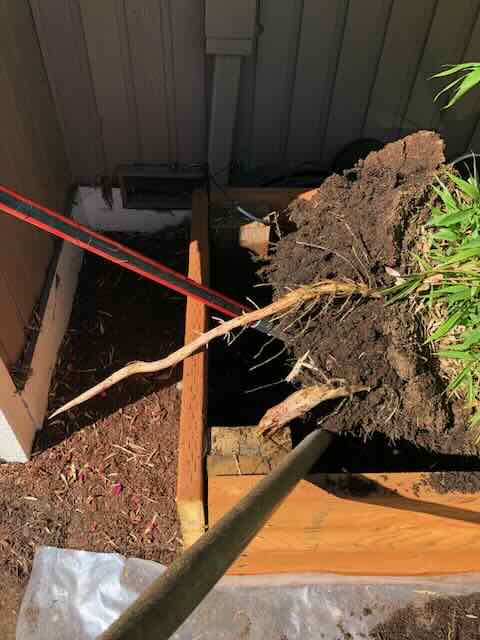
I wanted a large cedar planter but couldn’t find anything in stores at a reasonable price for the size I had in mind. So I decided to build one myself using cedar decking boards. The result was a sturdier, better-looking planter at a fraction of the cost — and I had a lot of fun making it.
At the end of this post I’ve included a full list of tools and materials with prices. Some items are an investment, but they’re tools you’ll have forever.
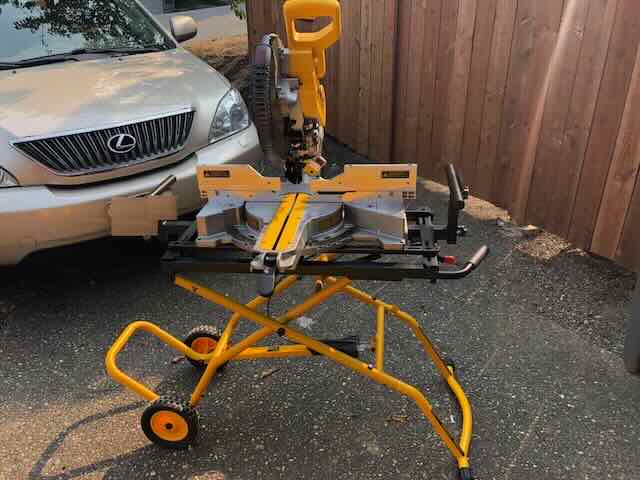
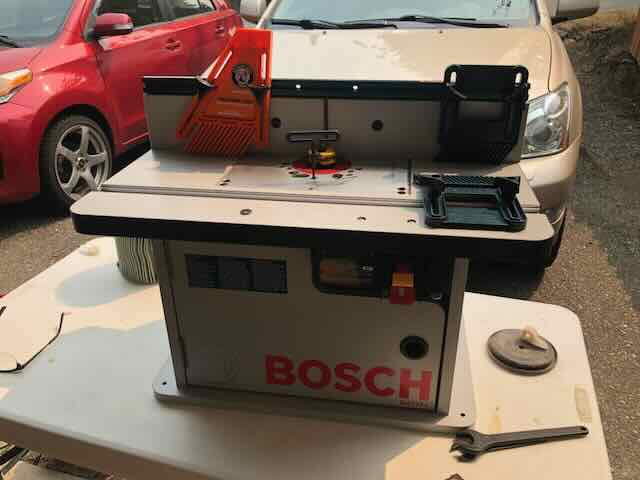
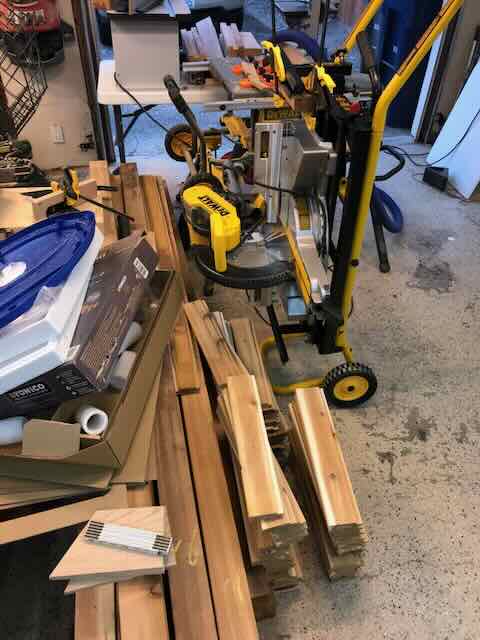
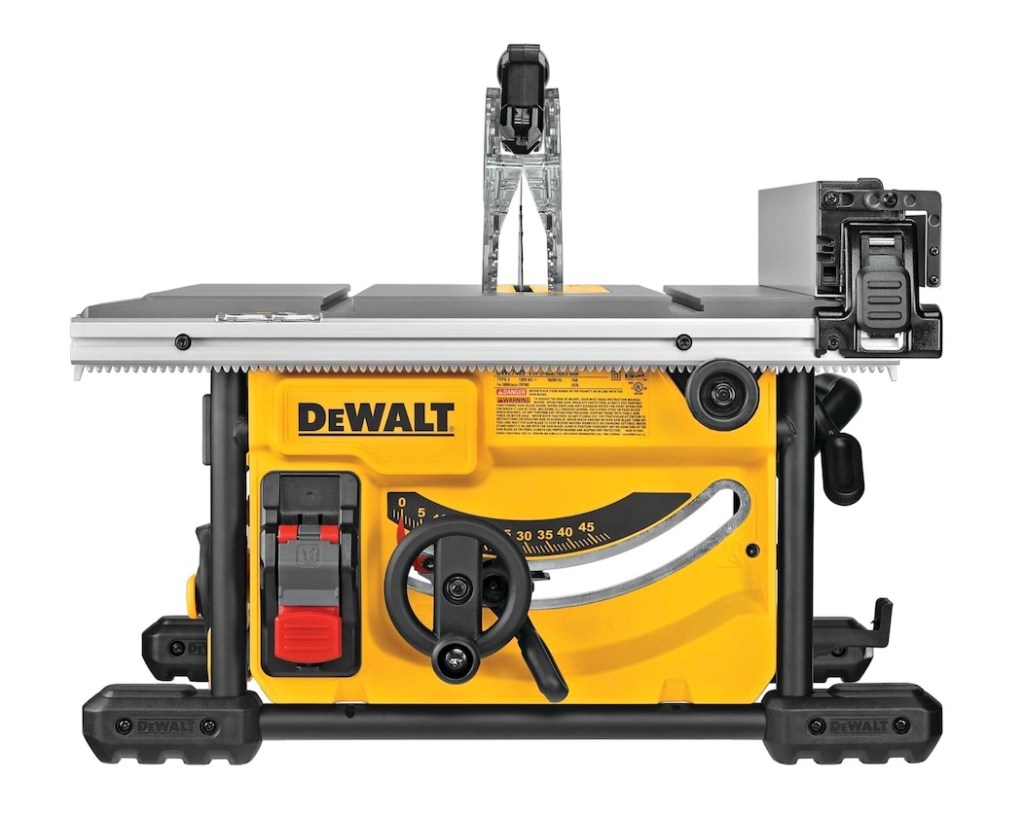
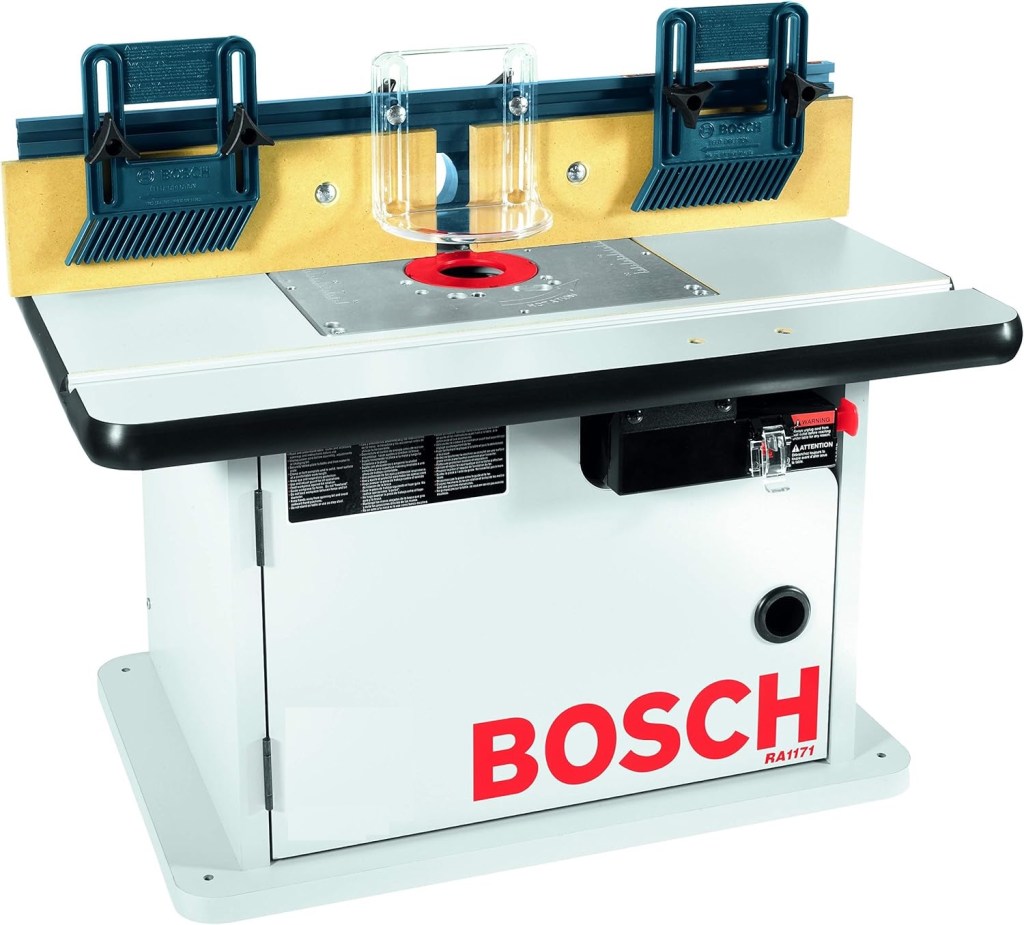
The main tools for this build were a Bosch router table with Bosch router, a DeWalt compound miter saw, a DeWalt 8-1/4″ jobsite table saw with stand, and a DeWalt 18-gauge finish stapler.
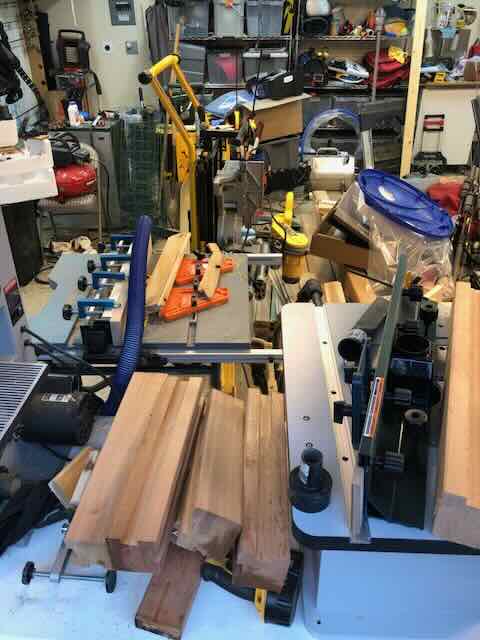
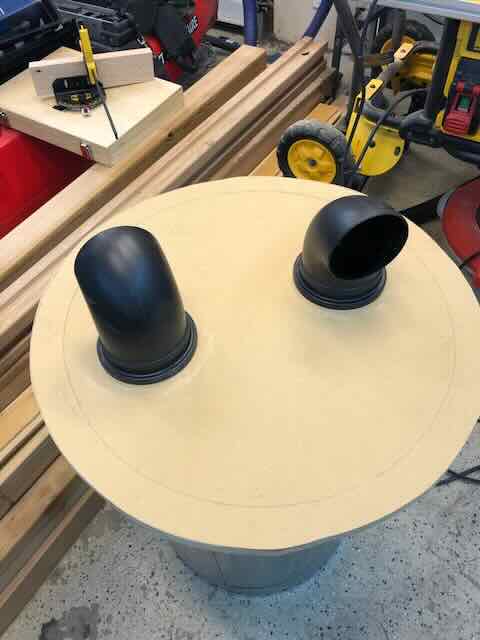
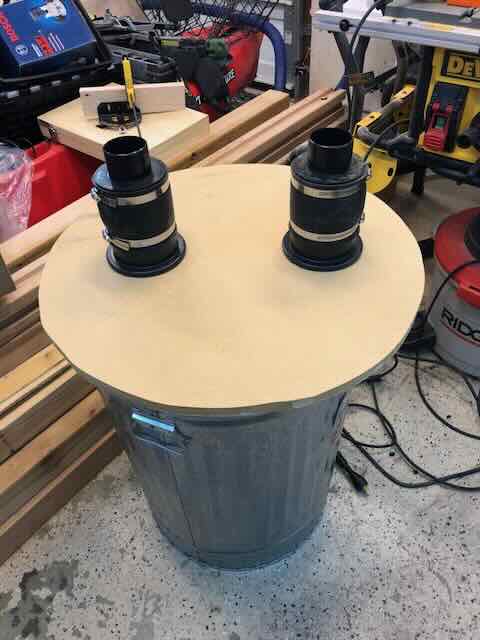
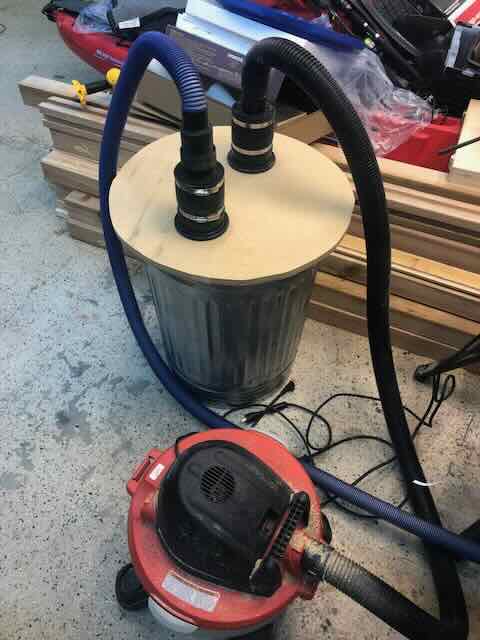
Cedar produces a lot of fine dust — a dust collector makes a big difference. I built a simple cyclone separator from a metal trash can that feeds into a shop vac.
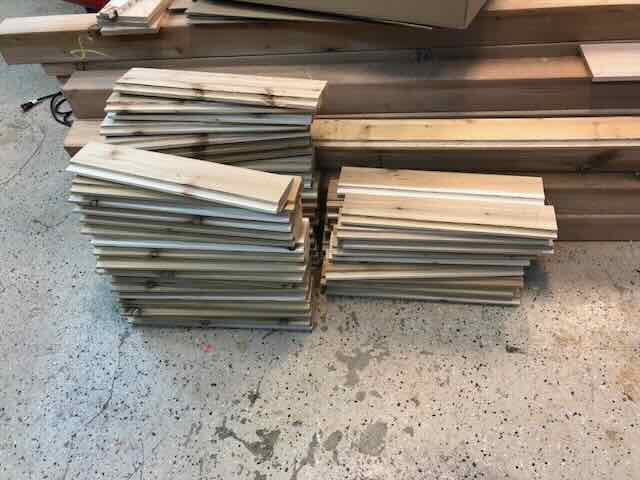
I started by figuring out the height I wanted for the planter, then cut all the boards to length using the miter saw. Cedar decking comes in consistent widths, which makes planning the board count straightforward.
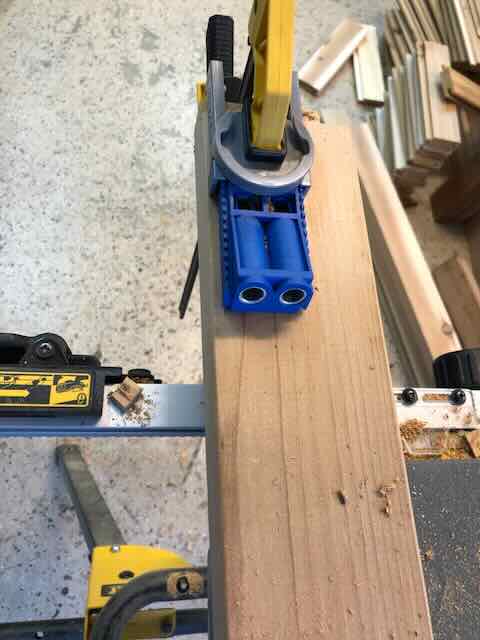
I used a Kreg pocket jig on the cedar boards to hold the panels together.
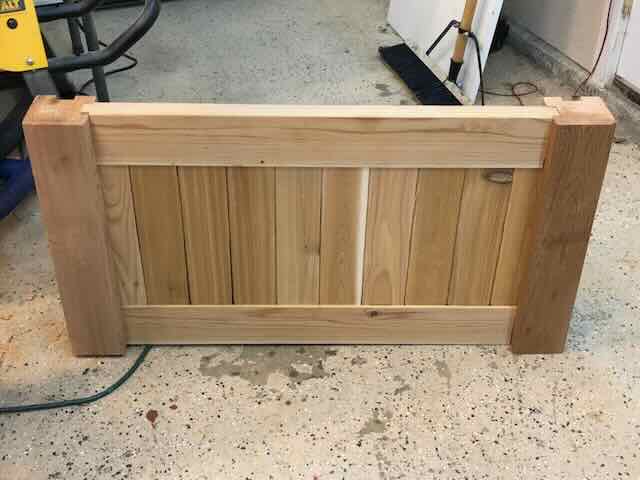
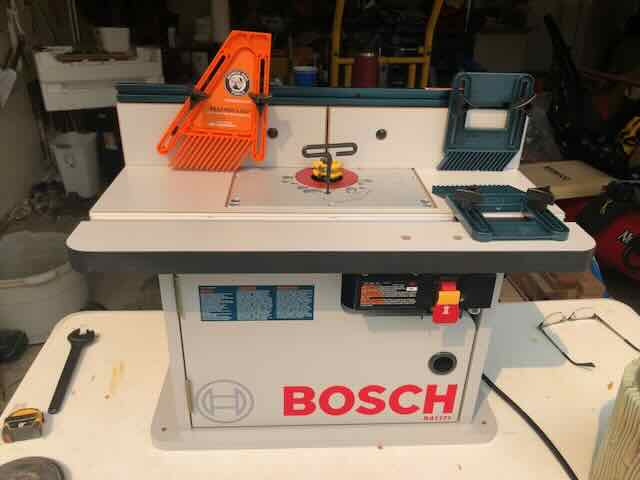
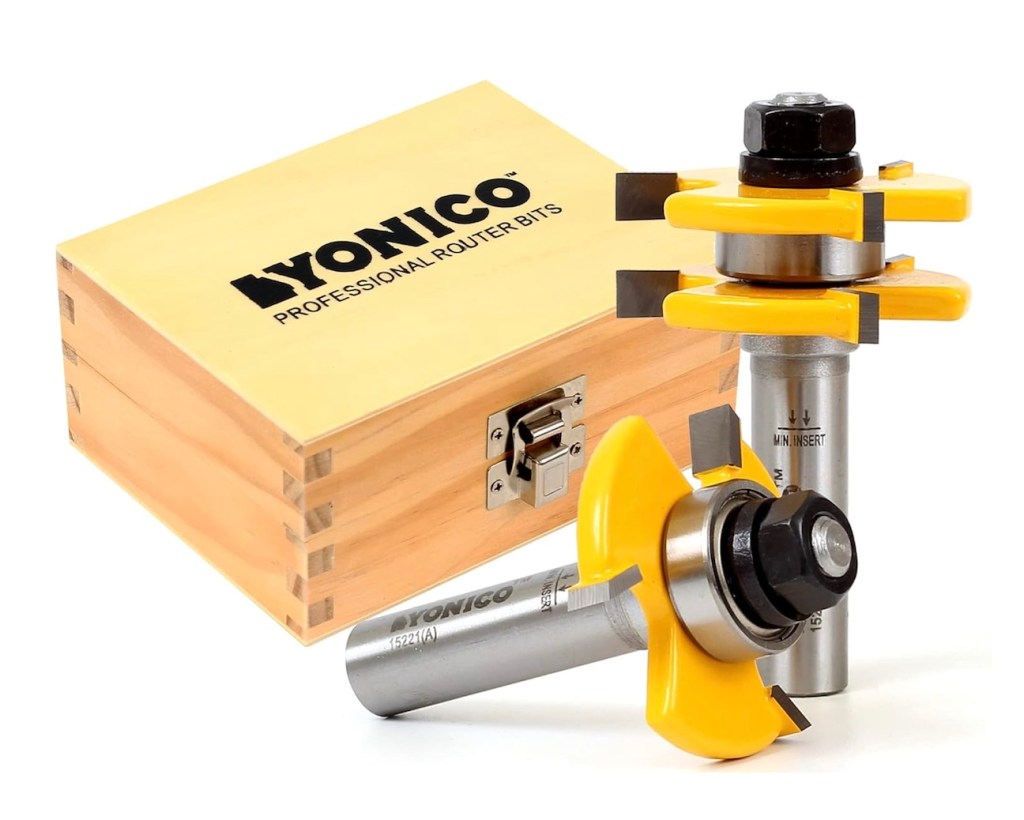
With the boards cut to size, I used the router table and a Yonico tongue and groove router bit set to profile the edges so the boards would fit tightly together. For the corner posts I used 4×4 cedar with a groove cut down the face so the vertical boards could slide in. The top and bottom rails also got a groove cut using an 8″ carbide stacking dado blade set (you’ll also need a dado throat plate for your table saw). Everything locks together snugly without any visible fasteners on the face.
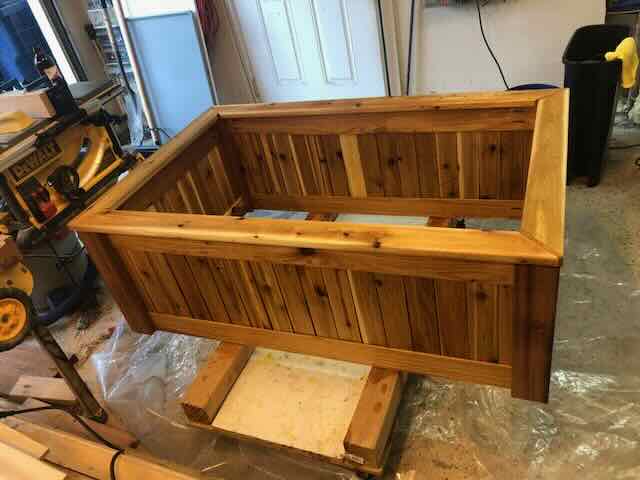
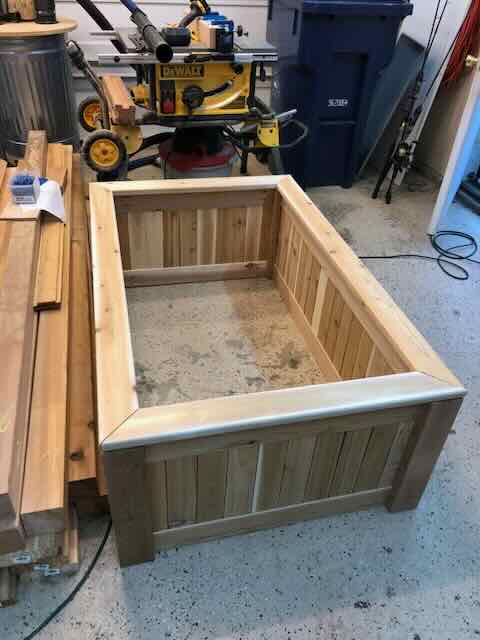
Once the oil had cured I assembled the panels, sliding the boards into the grooves in the corner posts and rails. I used the finish stapler to lock everything in place. The tongue and groove joinery keeps the boards aligned and the staples hold everything tight while giving a bit of flexibility for the wood to move with seasonal moisture changes.
Tools & materials
| Item | Notes | Link |
|---|---|---|
| Bosch router table | For tongue & groove profiling | Amazon |
| Yonico tongue & groove bits | Essential for panel joinery | Amazon |
| DeWalt 8-1/4″ table saw | With stand | Amazon |
| 8″ carbide dado blade set | For rail & post grooves | Amazon |
| Dado throat plate | Required for dado cuts on table saw | Amazon |
| DeWalt 18-gauge finish stapler | For final assembly | Amazon |
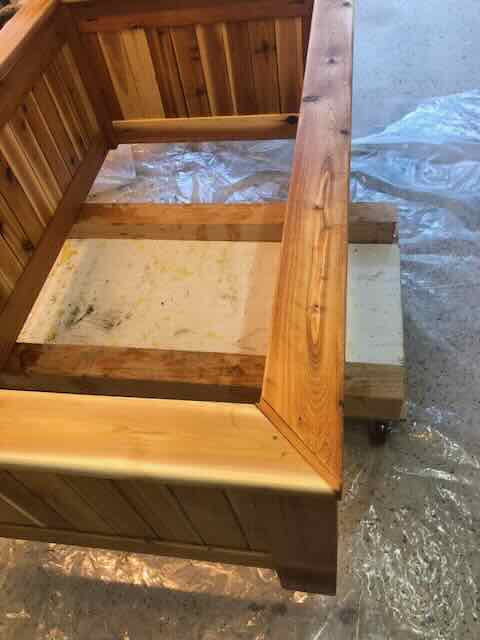
| Tried & True Danish Oil | Food-safe finish, apply before assembly | Amazon |
| Cedar decking boards | Available at most lumber yards | — |
| 4×4 cedar posts | For corner posts | — |

Heads up — affiliate links below. This post contains Amazon affiliate links. If you click through and make a purchase, I earn a small commission at no extra cost to you whatsoever. It’s a tiny way to help me keep posting content like this, and I genuinely appreciate every click. Thank you!


Leave a comment